Viewing entries in
Smart Garden

FarmBot is an open-source CNC farming machine

Comment

FarmBot is an open-source CNC farming machine

With hopes of reinventing the way food is grown, Rory Aronson has developed humanity’s first open-source CNC farming machine. The FarmBot Genesis — which will begin taking pre-orders in July — is capable of planting seeds and then watering them precisely.
— https://blog.arduino.cc/2016/06/07/farmbot-is-an-open-source-cnc-farming-machine/

Arduino.cc have a nice write up of what looks to be a nice open source project; FarmBot Genesis 

Comment

Solar Fairy Light Teardown

1 Comment

Solar Fairy Light Teardown

I have a plan to setup an automated watering system for our vegetable patch as we are constantly forgetting to water the them. It will also be really handy for times when we are away for a long period of time.

The first step is to get some data is to if the plants actually need water. I only have a limited supply of water so I do not want to waste any.

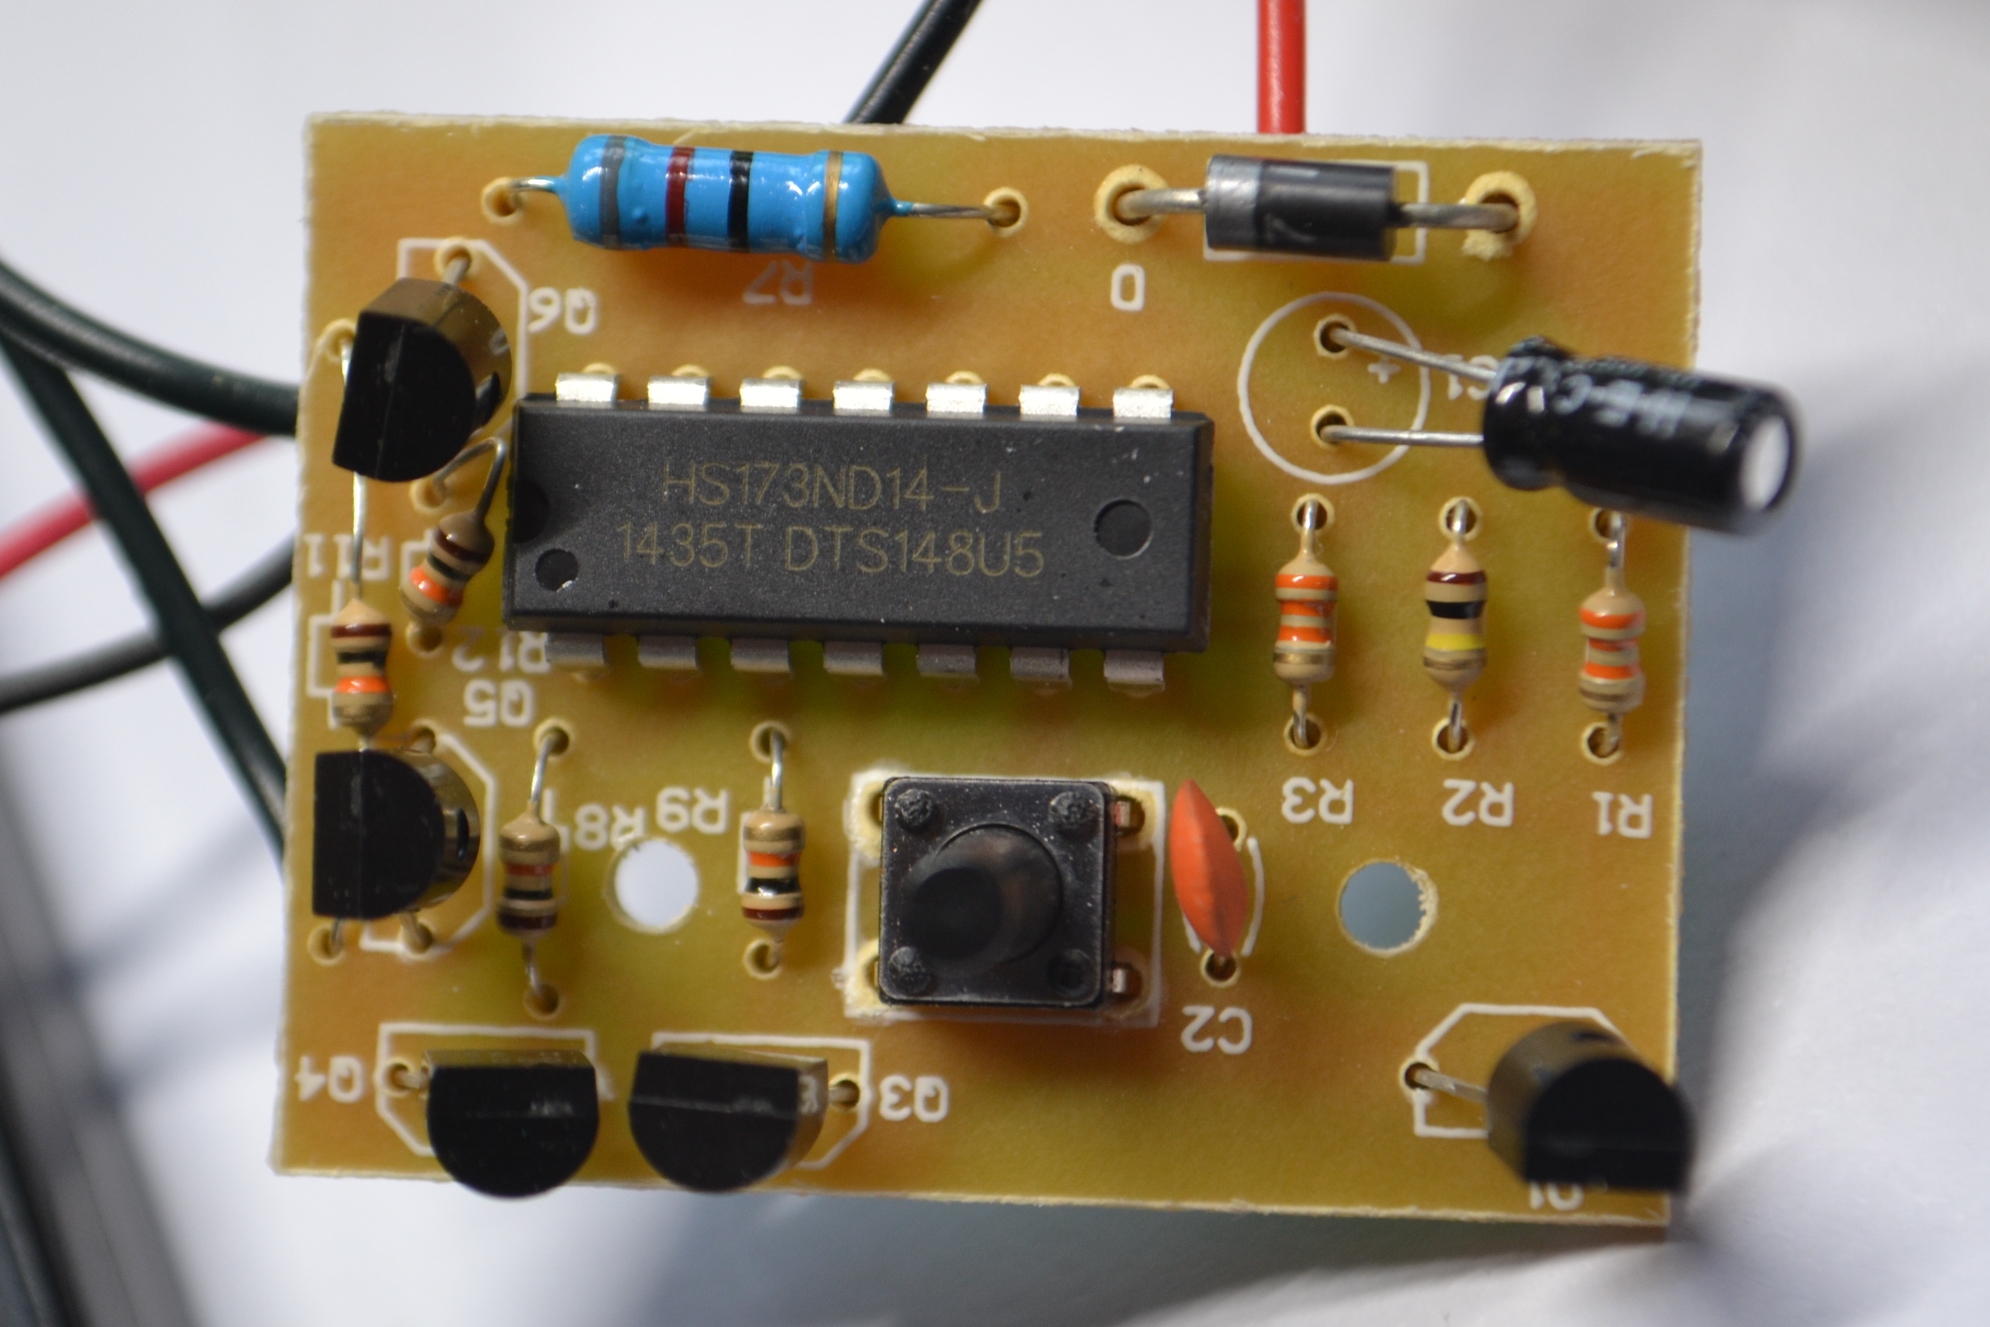
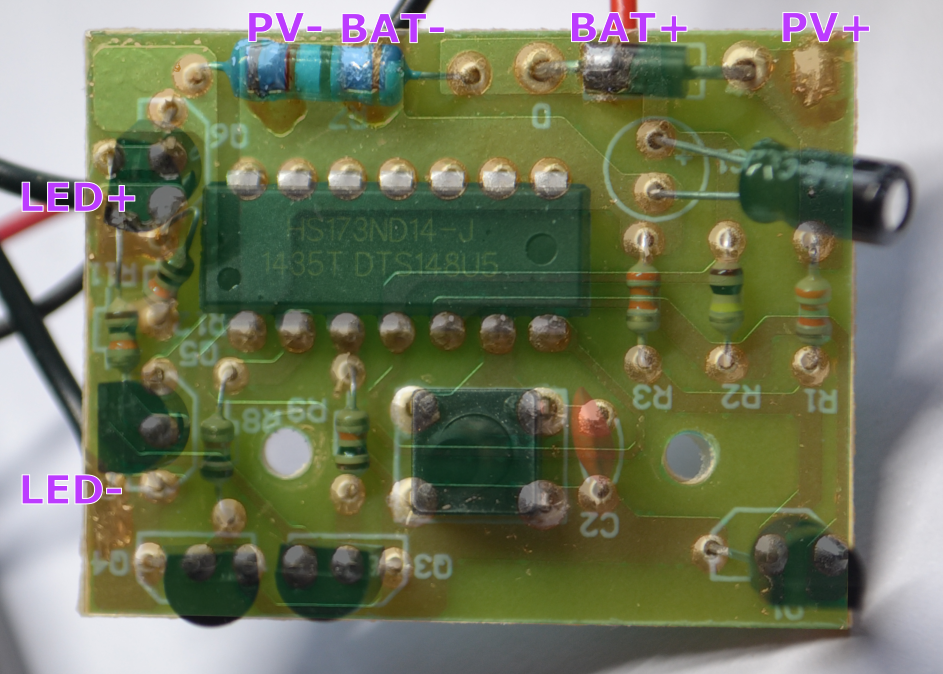
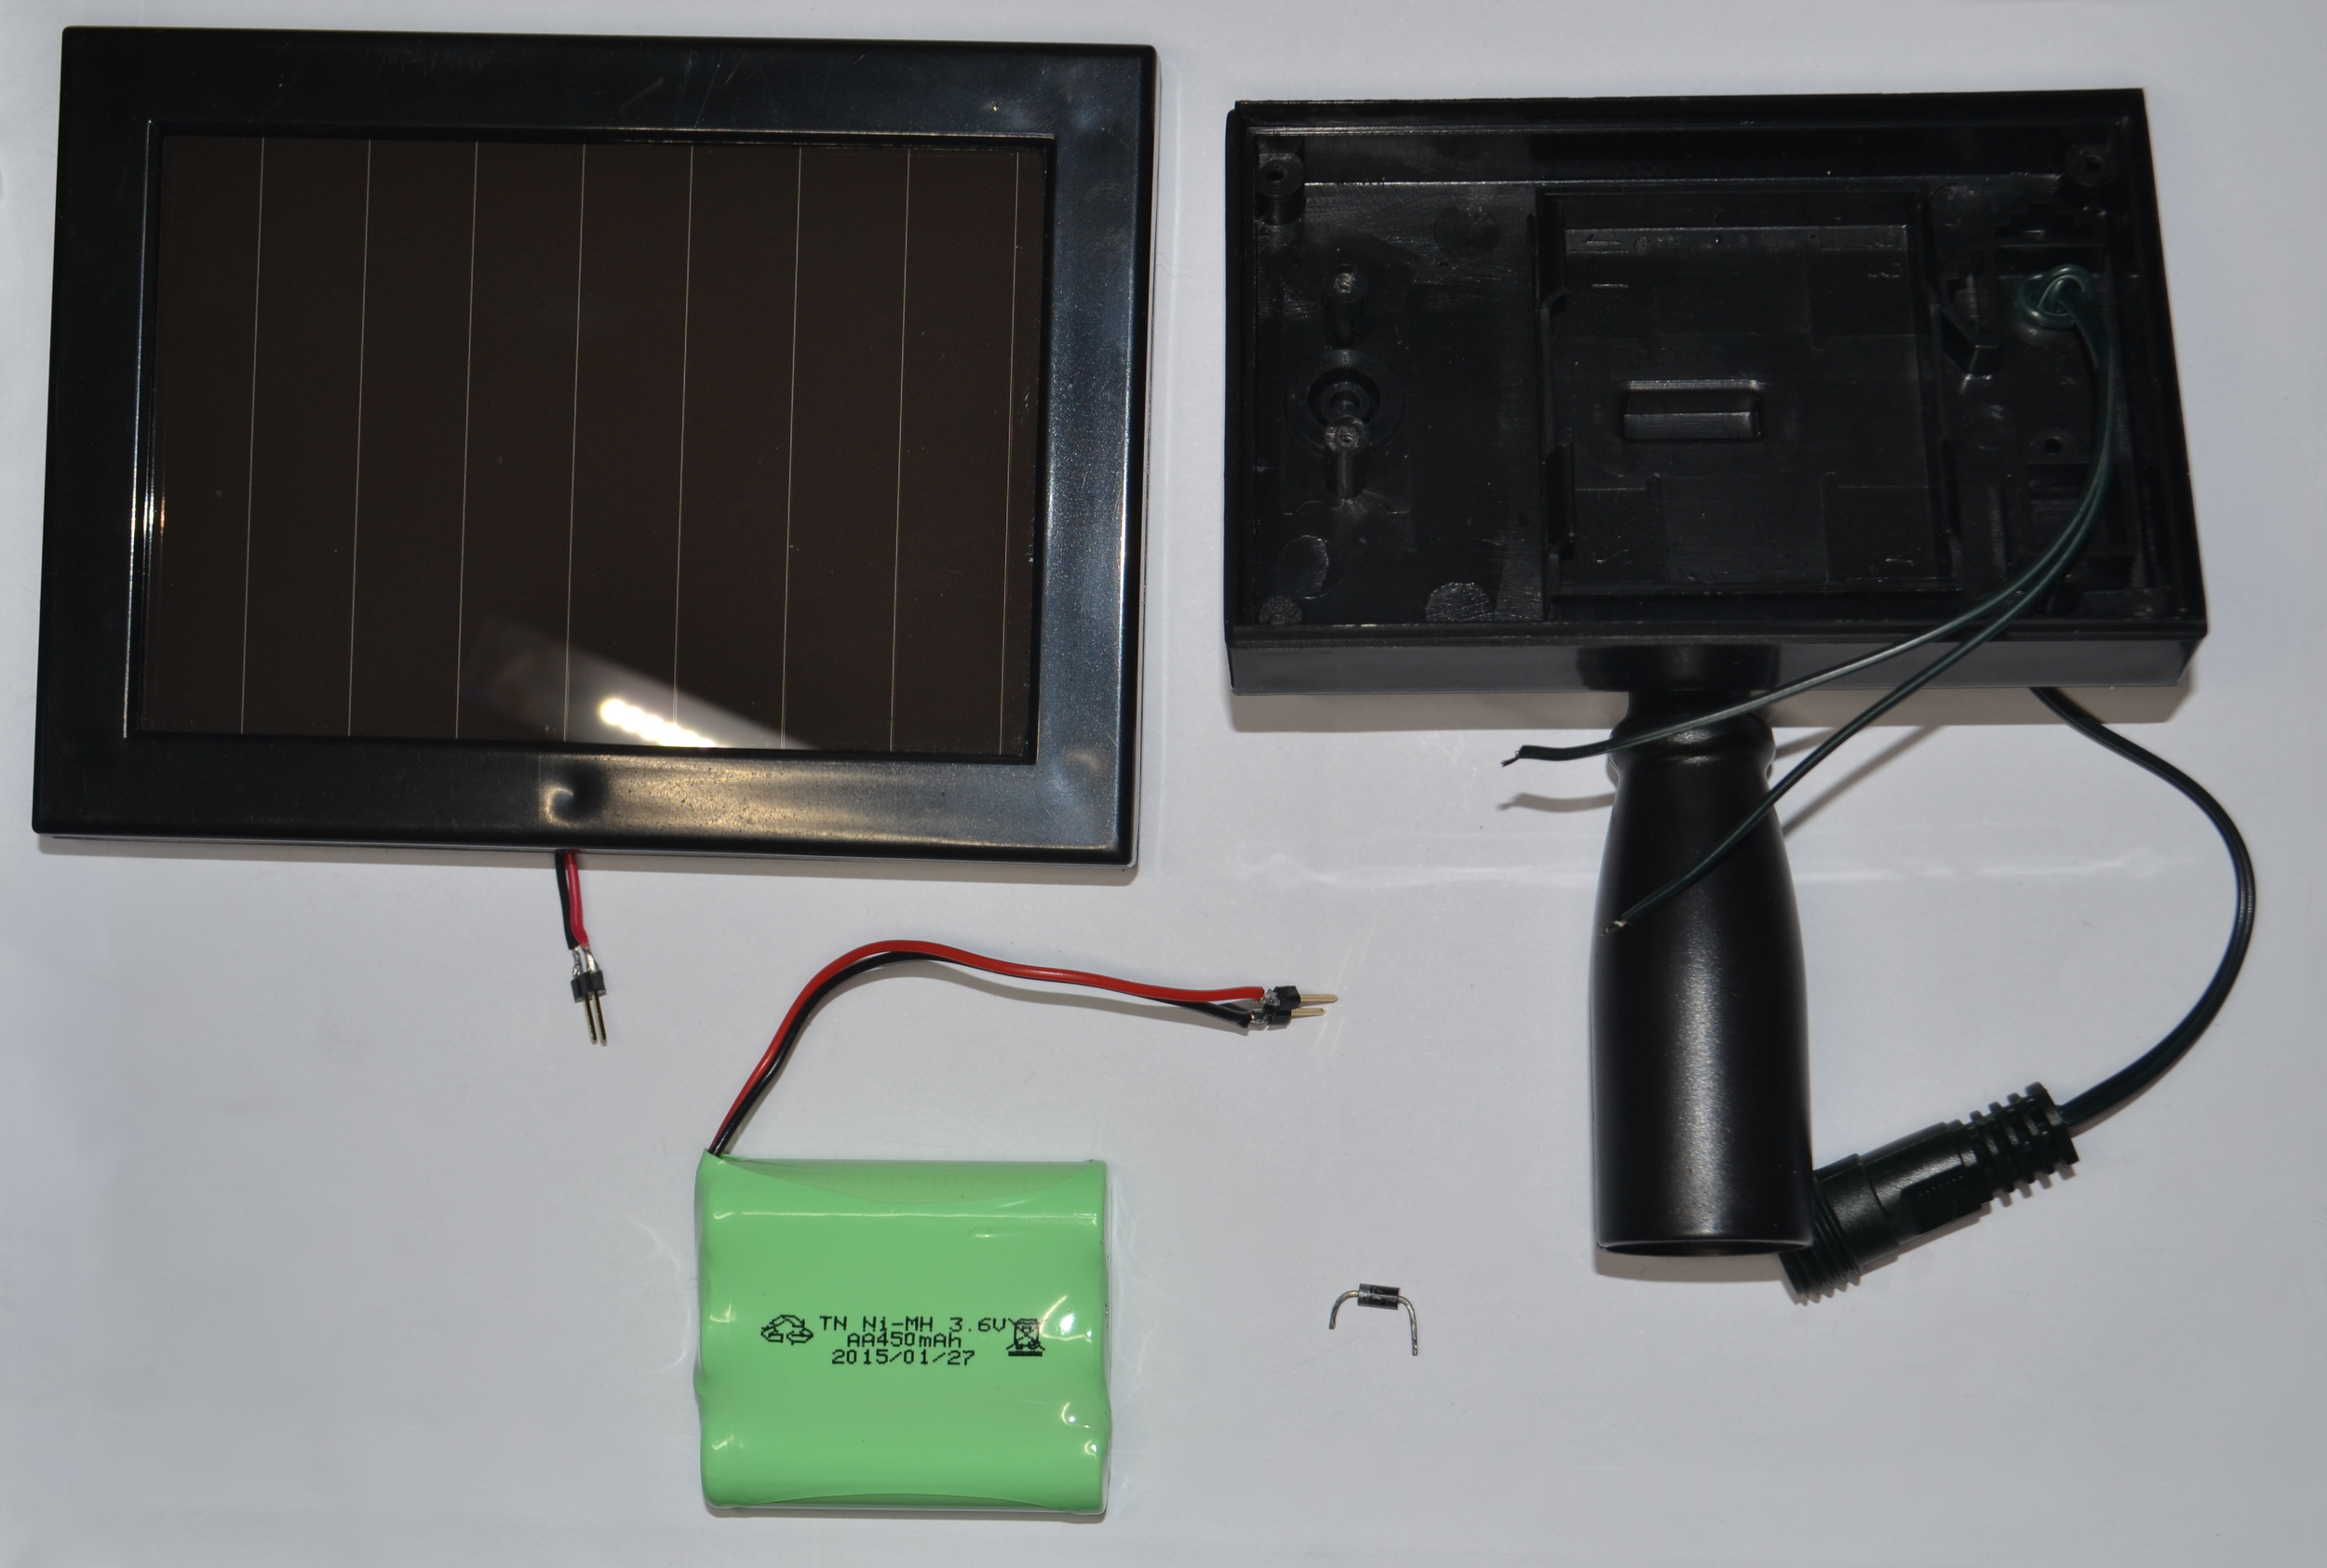
So I need a sensor in each bed monitoring the soil moisture. First on the list of requirements is it has to run outside so it needs to be waterproof. Second I do not want to be running a lot of cables around that are going to get damaged while digging so it needs to be wireless and have its own power supply, so a battery. Lastly I need some way of charging the battery so of course this means a solar panel. 

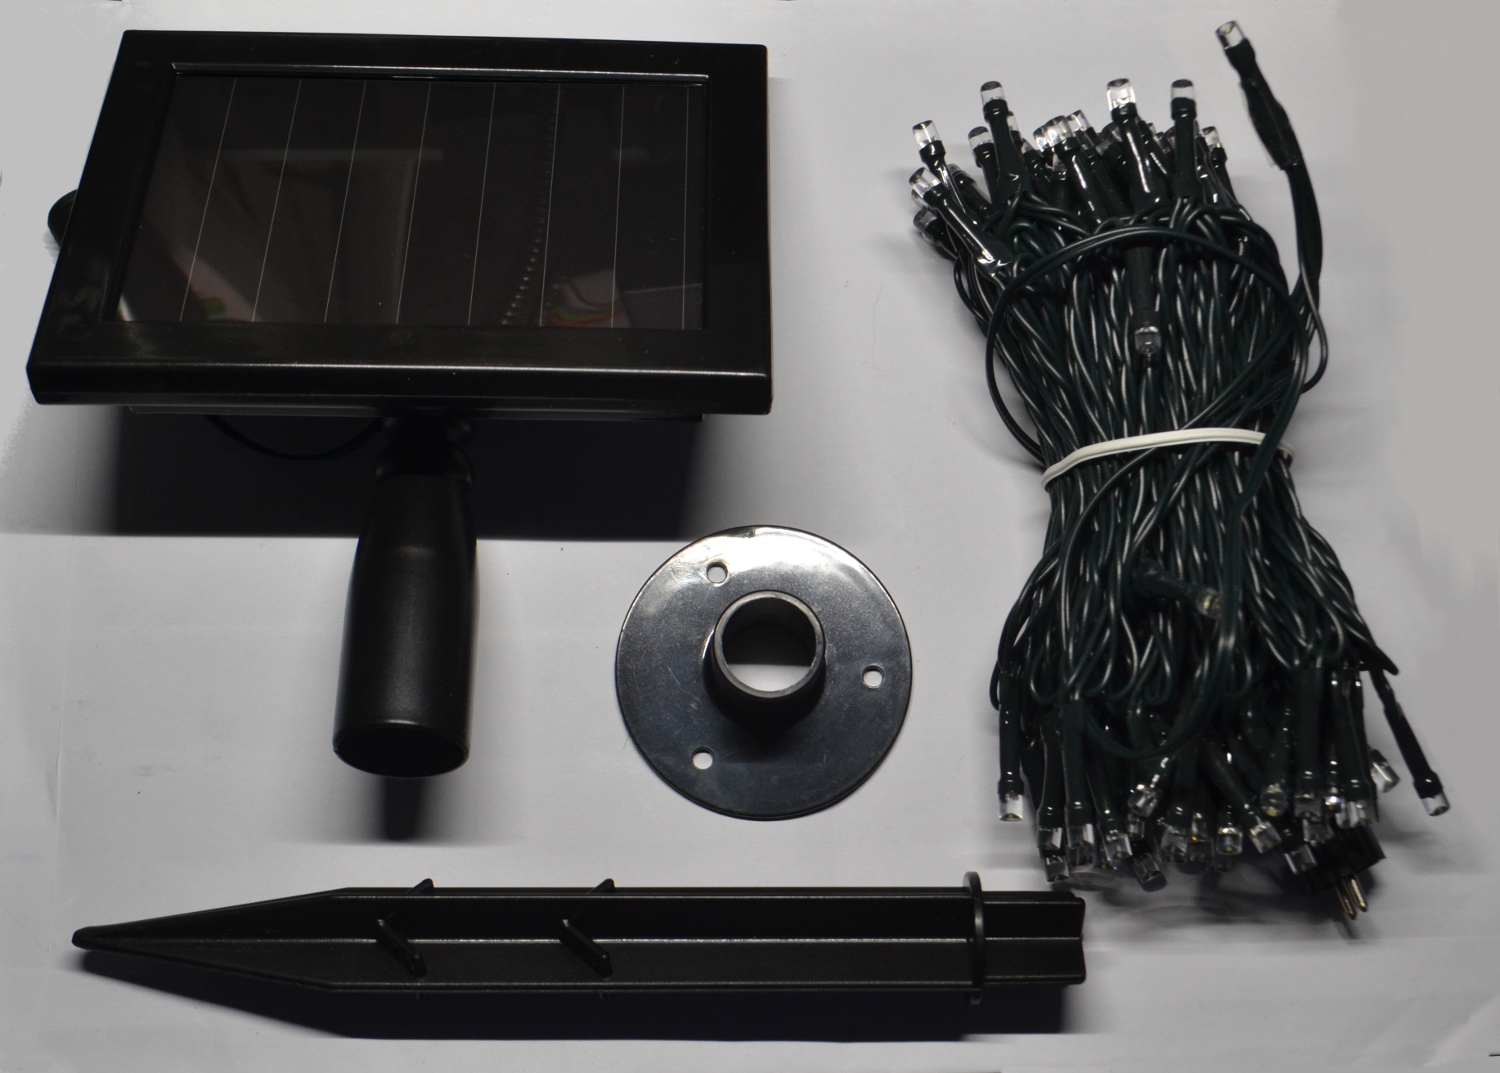
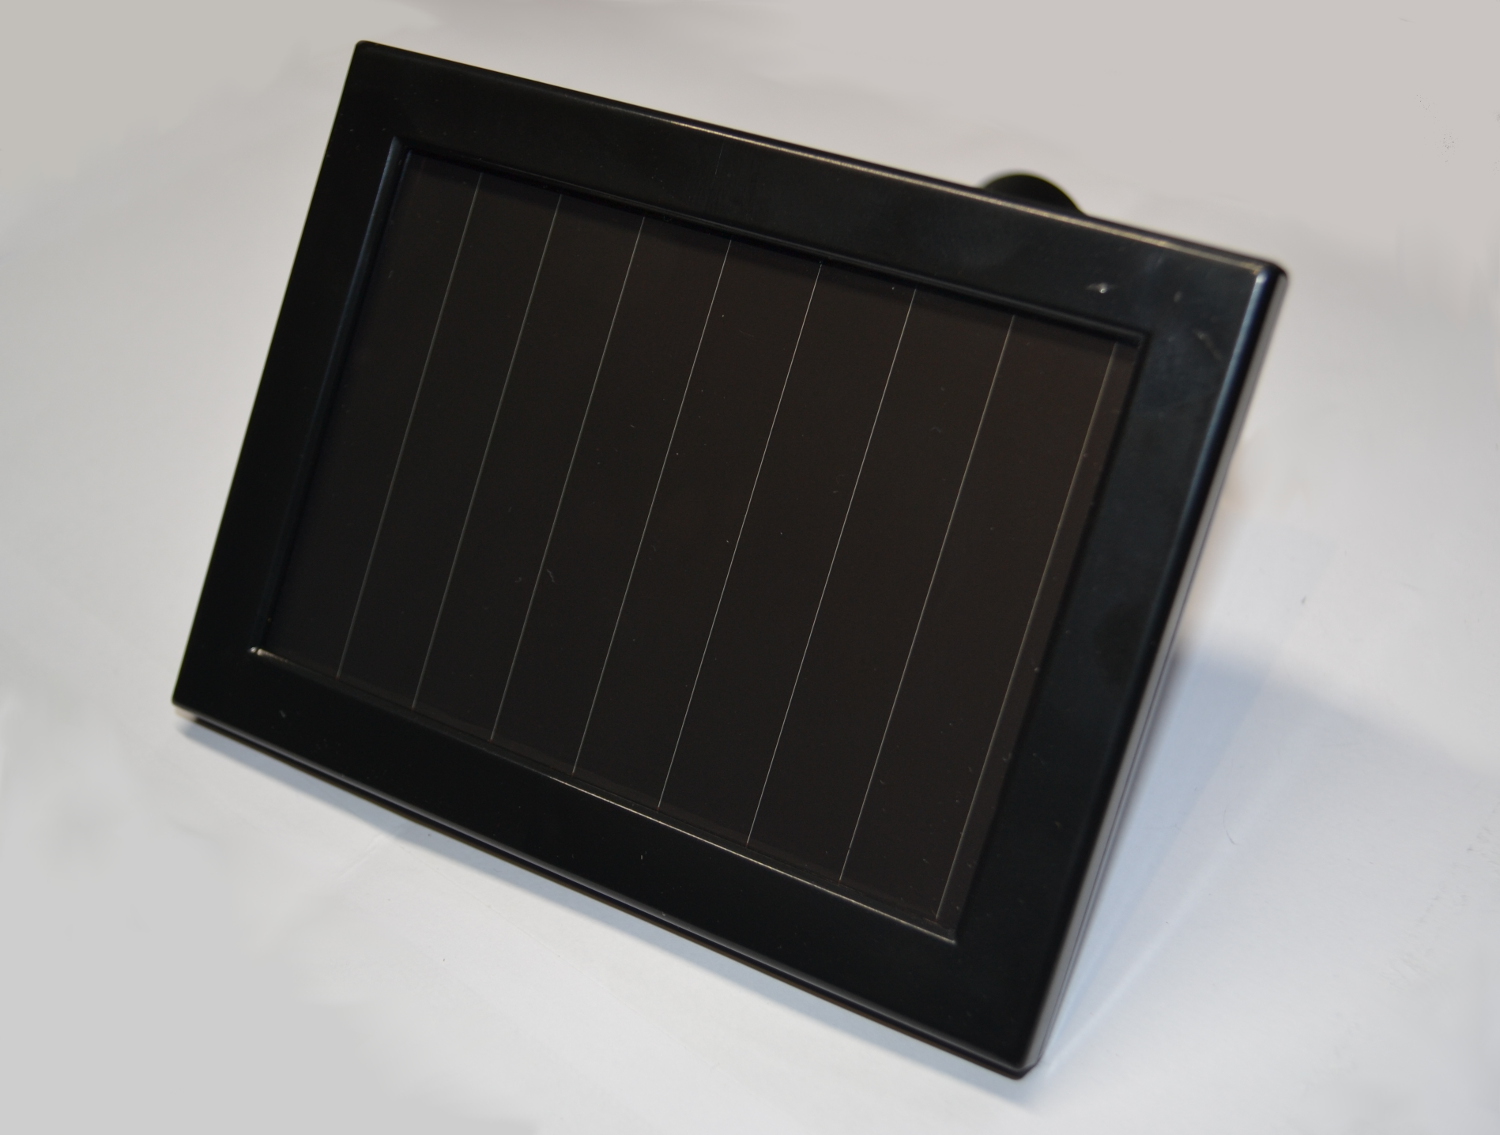
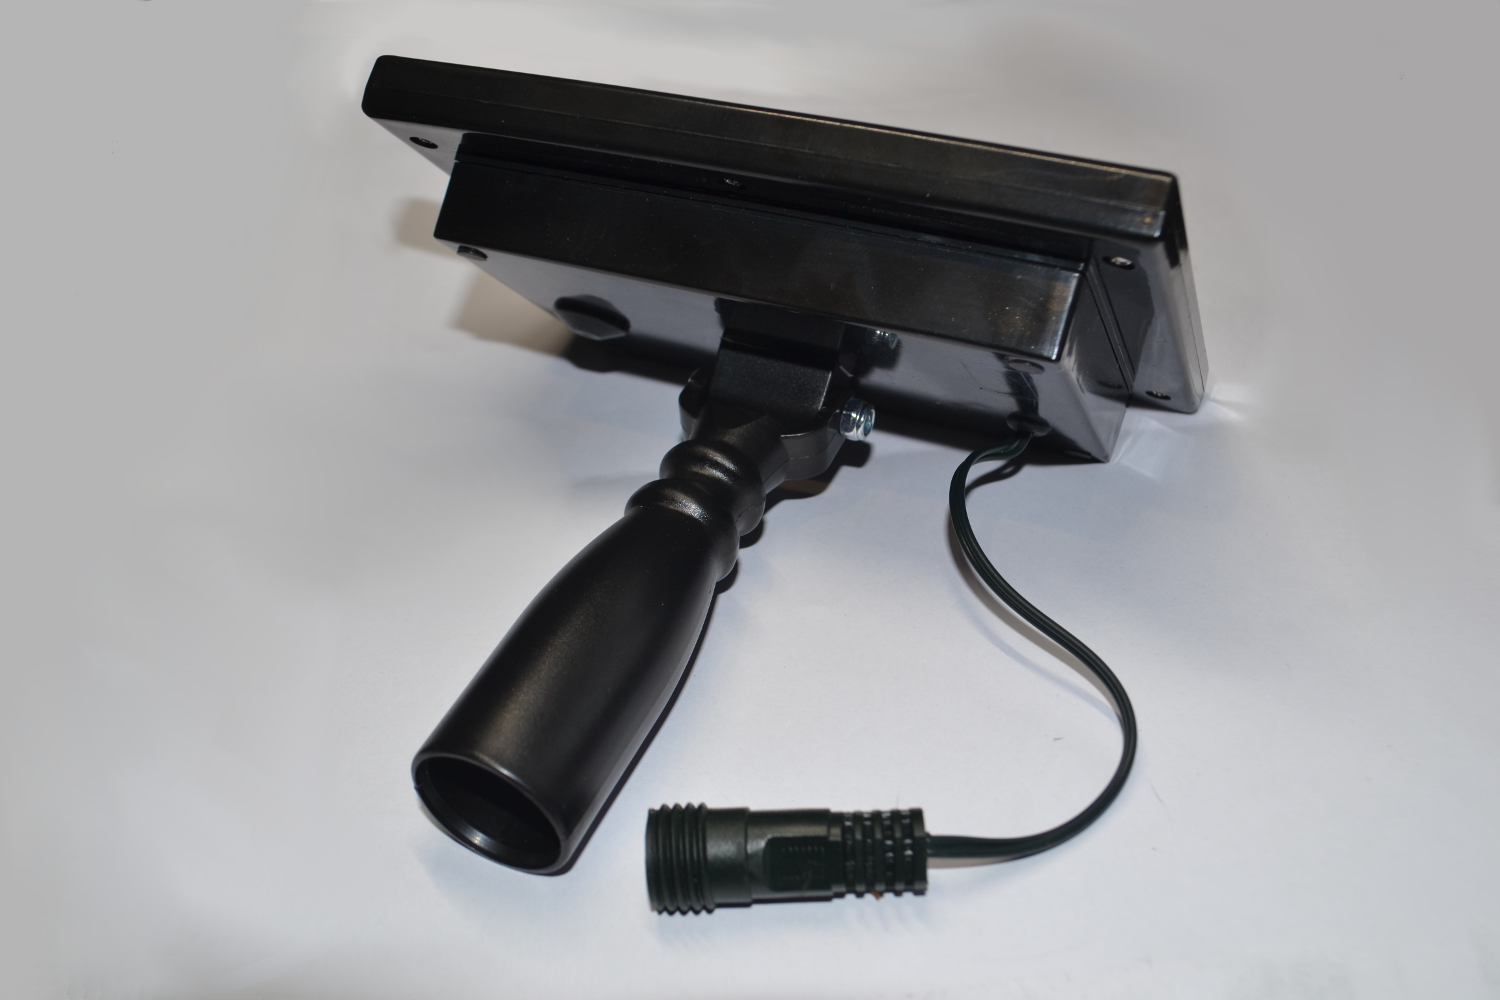
It just so happens I have something that meet some of these criteria. Yes, you have probably guessed it, some solar fairy lights. Given the ones I have are in use it is off to Amazon to get some that I can tear apart.

After very little searching I bought some "Blingstring Outdoor Solar Fairy Lights - White 100 LEDs" and a few days later...

As you can see the Solar Fairy Lights consists of the main unit with the solar panel, a string of LEDs a day and few fixings.

Of some mild interest, the LEDs are wired in two sets of 50 in opposite directions. So if you apply power directly to the LED cable only half light up. If you reverse the connection the other half light up, but I am mainly interested in the the Solar panel so the LEDs can be saved for something else. 

So lets pull apart the Solar panel unit and see what is inside...

As you could have probably guessed it is fairly simple. There is the Solar panel, a battery and a small PCB. Lets look a bit closer.

The Solar panel is a QFsolar 11176-8L, I cannot find much information on this from a quick internet search. but some quick probing with a multimeter it looks to be a 6V panel capable of supplying ~90mA in reasonable sunlight so probably a 1W panel. 

The battery is a basic 3 cell (3.6V) Ni-MH rechargeable battery rated at 450 mAh so should be ok for my project if I am careful about power usage when there is low power from the Solar panel.

And finally there is the control circuitry;

The main chip (HS173ND14-J) looks to be a custom chip, nothing really approaching a data sheet shows up while searching, but that is ok as it probably only controls the LEDs rather than the charging.

If I overlay the bottom of the PCB of the top as bellow you can see that there is a diode connecting the battery to the solar panel.

That diode is essentially the charging circuit, allowing current to flow from the solar panel to the battery and thus charging the battery but stopping current from flowing in the other direction when the voltage of from the solar panel drops. This is explained nicely in Simple Solar Power Circuit with Rechargeable Battery Backup.

So as a final step I am going to remove all the bits I do not need and add some breadboard friendly headers ready for some experiments.

I welcome any (constructive) feedback in the comments below


1 Comment